Writing Atari ST images to disk.
There seemed to be alot of tutorials on the net of how to read floppy drives for
archival/data preservation purposes, but not a lot on how to write images back to disks.
There are plenty of modern solutions to replace the floppy drive within your ST with a emulated drive that reads images from a SD Card, but there are some folks who dont want to open up their ST to make modifications, especially if the machine has never had the warranty sticker removed.. :D
Hopefully you will find this write-up useful :)
Install Kryoflux and HxCFloppy
1 - Kryoflux Floppy Controller Board
2 - 3.5 Floppy Drive with appropriate ribbon
3 - 3.5 inch disk (s) :D
Download Kryoflux from here and HxCFloppy from here.
When the board is plugged in for the first time, it does not pickup the correct driver (Drivers are in Kryoflux install)

Change the driver to...
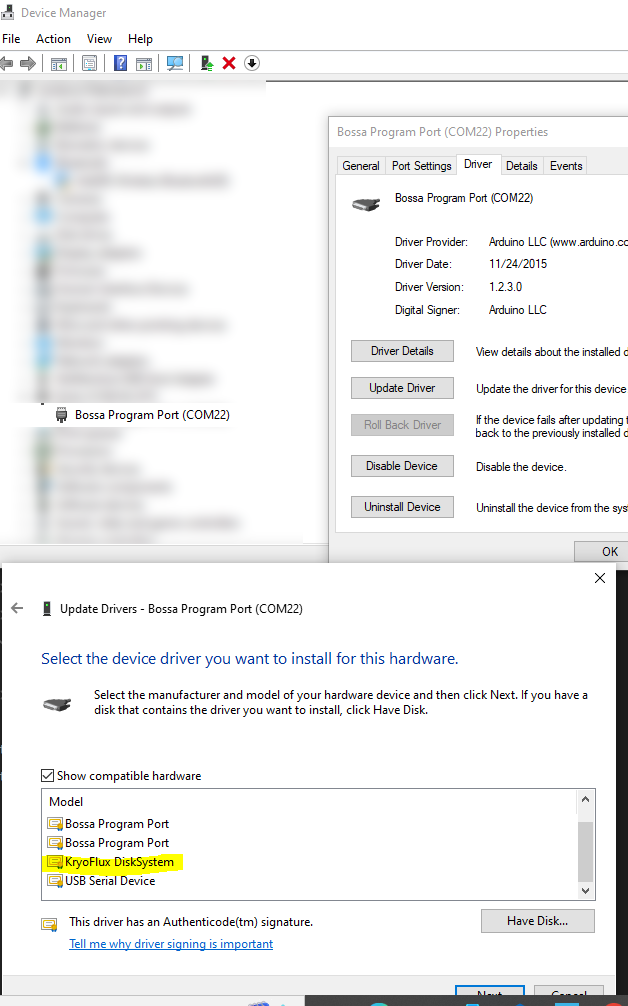
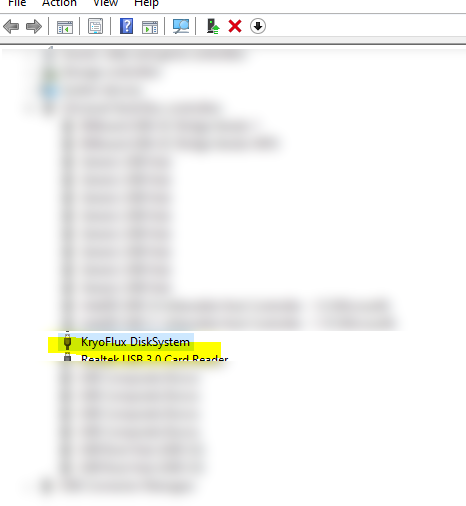
Resulting in...
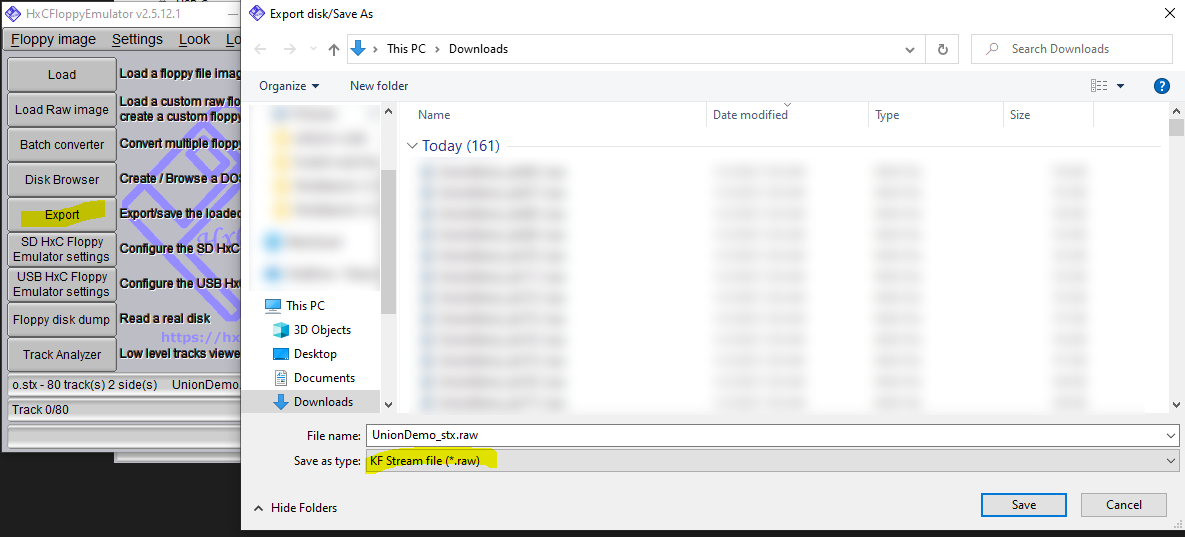
Convert ST Image to RAW format
Using HxC floppy, convert the STX or MSA Atari ST image to RAW for Kryoflux
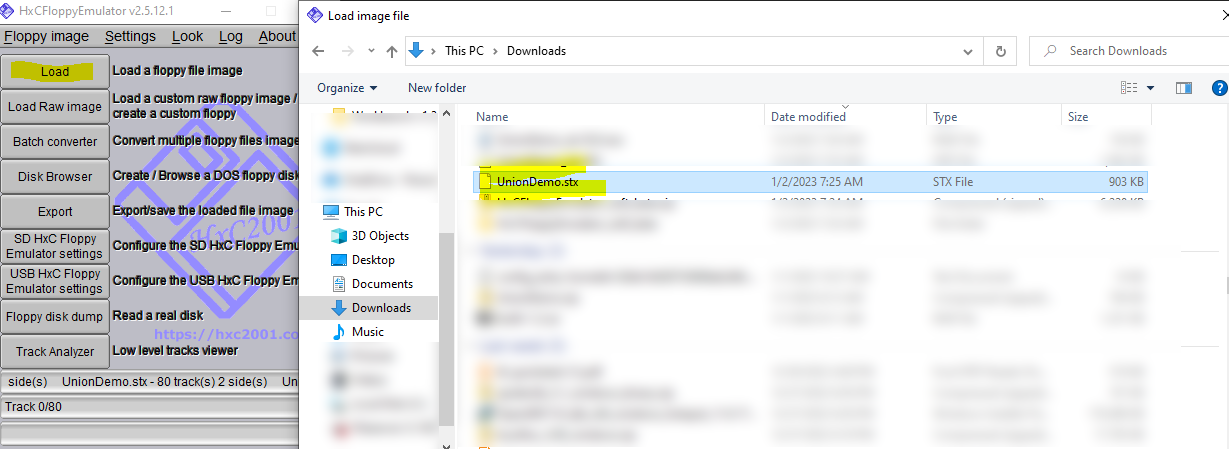
Once loaded, click on Export and select raw
Writing image to disk
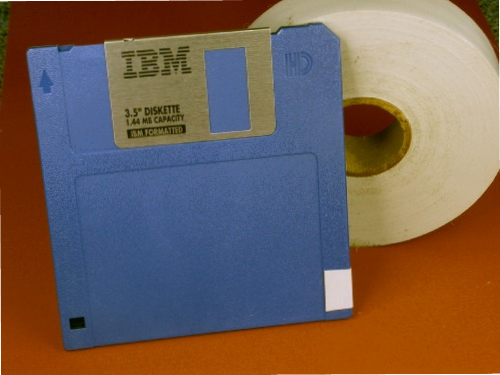
Make sure the disk is double density , (Only has the write protect hole), if its Hight Density, cover up the other hole with tape to fool the drive into thinking its double density
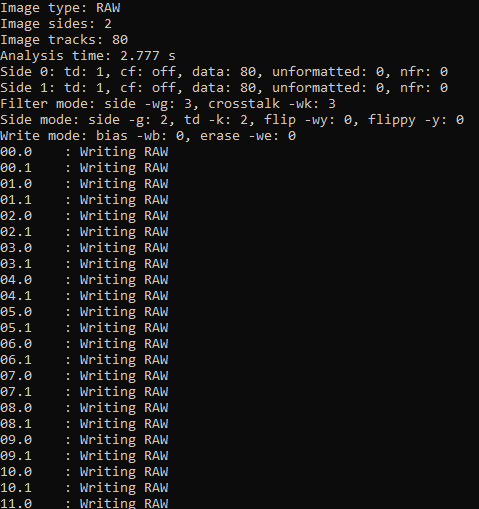
Using Kryoflux DTC tool, write the image to the disk.
There should be no space between the -f and the drive letter, its not a mistake
If successful, you should see the imaging getting wrote to disk
Once done, give it a shot!
Reach out if you have questions